Vitalik Buterin posts some of the most widely-read blogposts on his personal website. I have long been curious, what kind of blogging software is good enough for the co-creator of Ethereum?
Last month, my friend Luke and I were chatting on Twitter about his project Adams Exchange. I asked if anybody knew what Vitalik's website uses. The man himself kindly responded with a link to his GitHub repository!
tl;dr
This is an every-keystroke tutorial for setting up Vitalik Buterin's free blogging software.
328 lines of python code (<10KB) implements the entire CMS. The README reassures: "This is an ultra-simple self-hosted blog publishing solution."
(Optionally) pay for your own domain name. Everything else is zero-cost upfront. The setup scales with your needs, while add-on services may cost extra.
Preliminaries
Click to expand
This tutorial will not cover, but expects you are able to:
select the Repository we just created (Autodeploy should be checked)
Step 6 screenshot 2
enter App Info - Name can only contain lowercase alphanumeric characters and dashes
[CHECK] Billing should be zero under the Starter Plan
click Create Resources (should take ~30 seconds)
load Live App
[OPTIONAL] Step 7: add your own domain name
Click to expand
Step 7 screenshot
under your App, look for App Settings and Domains
click Add Domain, follow DigitalOcean instructions to update name servers
it should take ~15 mins to deploy
if you get an error like "This site can't provide a secure connection", this is usually due to a recently created CNAME. It should clear up in 30-90 minutes.
If you don't add your own domain name, go back and update [domain] in config.md. Rebuild the feeds.
Installing blogmaker, Vitalik Buterin's free-to-use, self-made software package
2022 Aug 05 See all postsVitalik Buterin posts some of the most widely-read blogposts on his personal website. I have long been curious, what kind of blogging software is good enough for the co-creator of Ethereum?
Last month, my friend Luke and I were chatting on Twitter about his project Adams Exchange. I asked if anybody knew what Vitalik's website uses. The man himself kindly responded with a link to his GitHub repository!
tl;dr
This is an every-keystroke tutorial for setting up Vitalik Buterin's free blogging software.
328 lines of python code (<10KB) implements the entire CMS. The README reassures: "This is an ultra-simple self-hosted blog publishing solution."
(Optionally) pay for your own domain name. Everything else is zero-cost upfront. The setup scales with your needs, while add-on services may cost extra.
Preliminaries
Click to expand
This tutorial will not cover, but expects you are able to:
- install WSL2 ("Ubuntu like" on Windows hardware)
- set up GitHub, including SSH keys for
- create a DigitalOcean account
- [OPTIONAL] purchase a domain name (remember to setup 2FA, also called Two-Step Verification)
- [OPTIONAL] install VS Code for Linux, which can be useful for working with Markdown + GitHub
There are plenty of guides online for each of these steps.gitCLIStep 1: install
blogmakerClick to expand
commands to enter in Terminal, from your working directory:
edit
publish.py, changing line 253 from:to:
Step 2: create local folder for blog files
Click to expand
commands to enter in Terminal, from your working directory:
[OPTIONAL] nobody will ever see this, as we will set up a private repo
edit
.npmignoreto delete the row which mentionscolor.gifStep 3: run
blogmakerClick to expand
commands to enter in Terminal:
Step 4: create a new repository + push to GitHub
Click to expand
go to your GitHub account and create a New repository
set it to private
do not initialize with README,
.gitignore, or license. This repo will only containblogmakerstatic HTML outputscommands to enter in Terminal:
Step 5: tell DigitalOcean which repo to watch for updates
Click to expand
commands to enter in Terminal:
Step 6: create DigitalOcean App
Click to expand
select GitHub, and Edit Your GitHub Permissions
select the Repository we just created (Autodeploy should be checked)
enter App Info - Name can only contain lowercase alphanumeric characters and dashes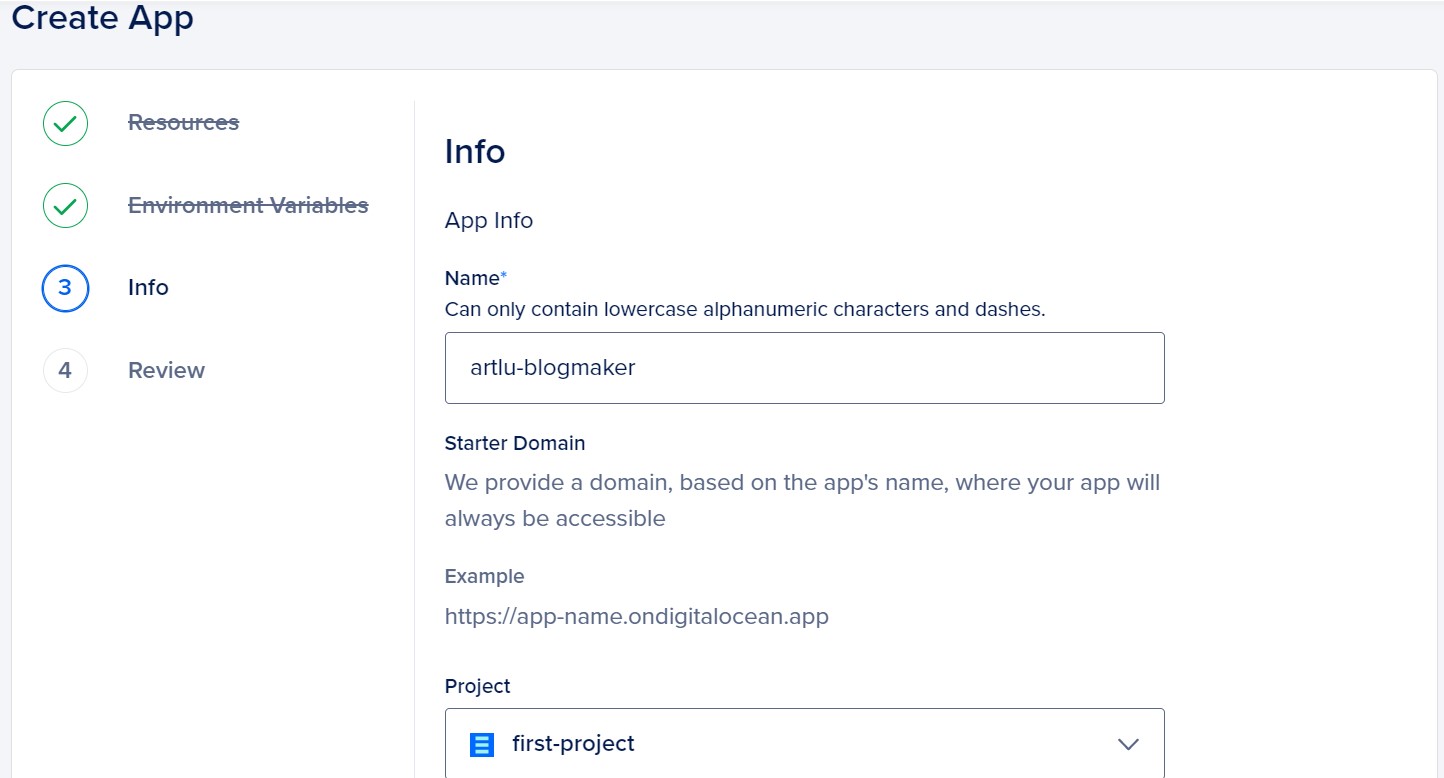
[CHECK] Billing should be zero under the Starter Plan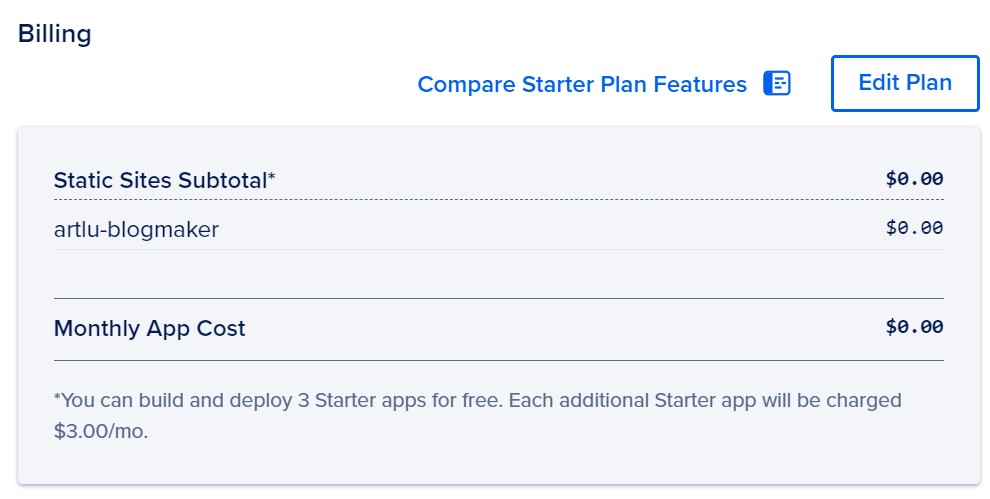
click Create Resources (should take ~30 seconds)
[OPTIONAL] Step 7: add your own domain name
Click to expand
under your App, look for App Settings and Domains
click Add Domain, follow DigitalOcean instructions to update name servers
it should take ~15 mins to deploy
if you get an error like "This site can't provide a secure connection", this is usually due to a recently created
CNAME. It should clear up in 30-90 minutes.config.md. Rebuild the feeds.Your blog is now ready!
Comments welcome on Twitter and Lens Protocol.
Next steps:
Art Lu made this tutorial.